Creating a New Event
Training for staff to create a new event in Ministry Platform.
To Create a New Event
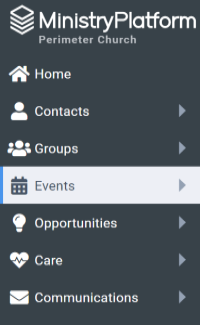
Step 1: Navigate to the Events page.
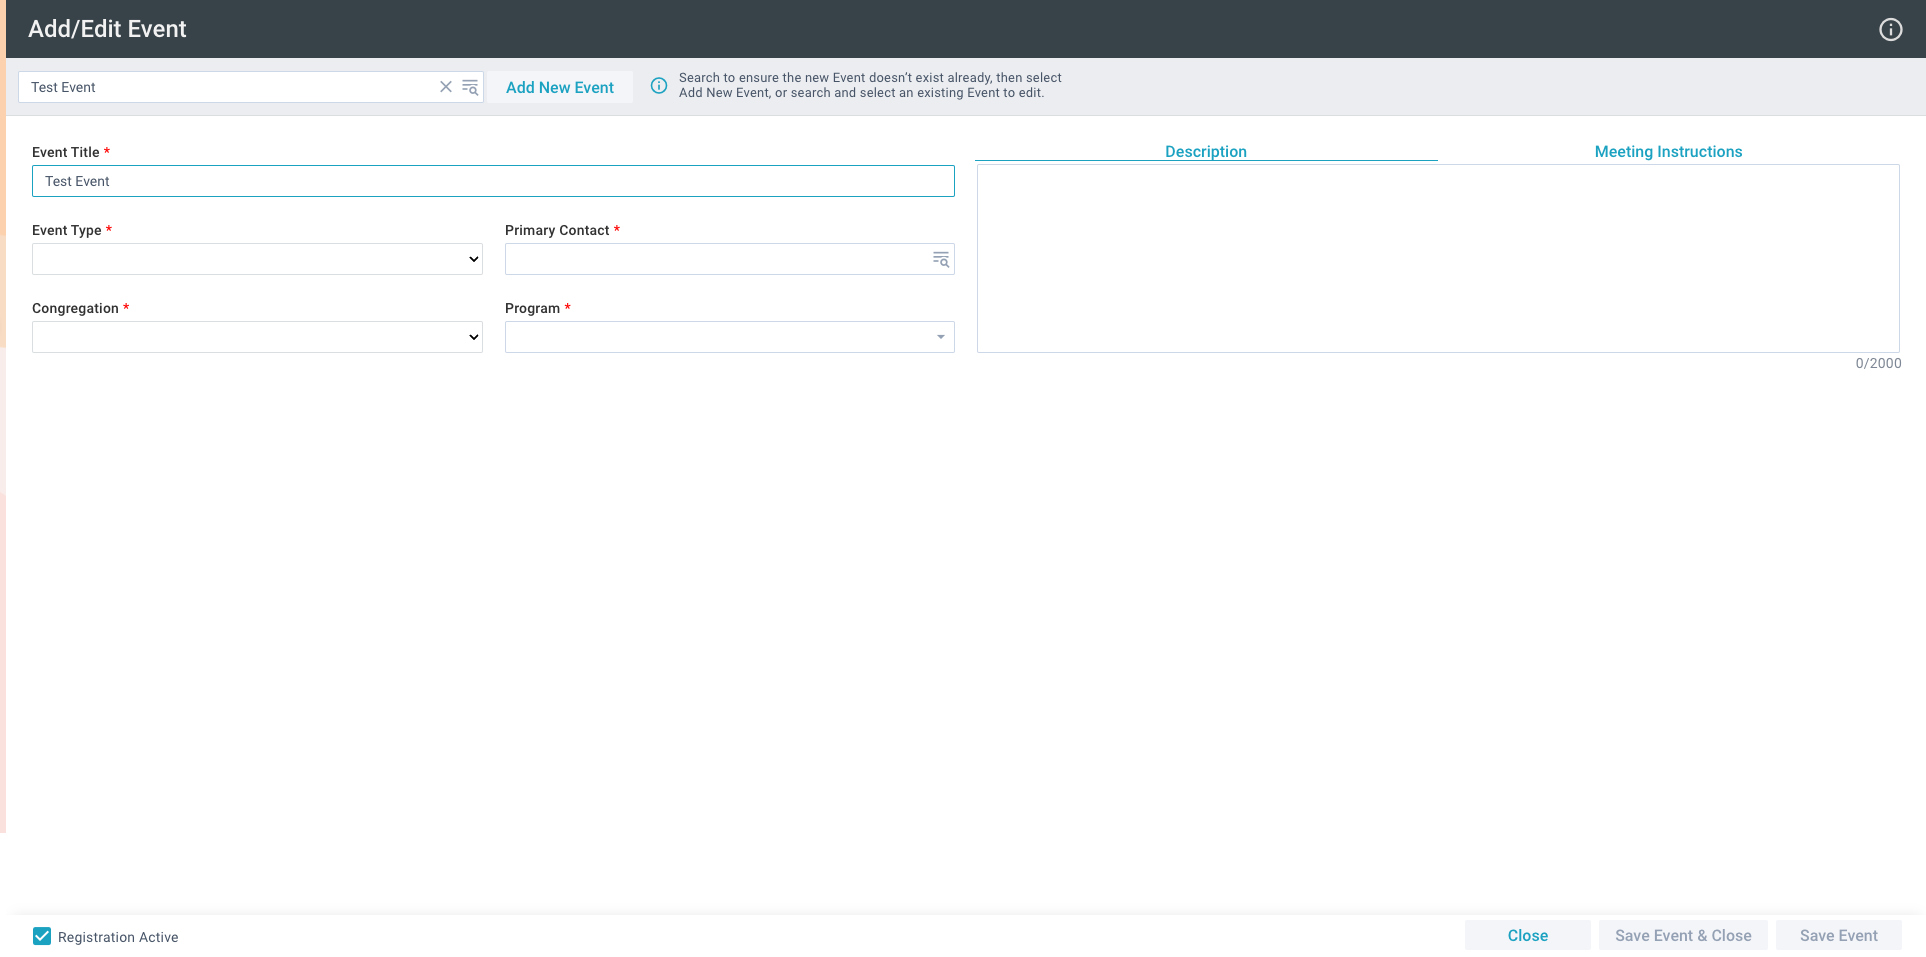
Step 2: Open the Add/Edit Event tool.
Click on the ’Tools’ button in the top right corner and select ‘Add/Edit Event’.

Step 3: Name and Add New Event.
Type the name of your event into the search bar to make sure it doesn’t already exist, then click ‘Add New Event’. You can also use this tool to edit an existing event.

Step 4: Complete Event Fields.

Event Title
Event Title is automatically populated from what you typed in the search bar when you clicked the ‘Add New Event’ button.
- Don’t include the date in your title
- Avoid using any ministry acronyms in your title
- Keep your titles concise
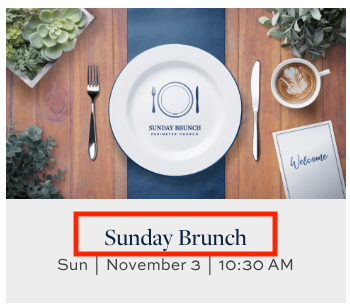
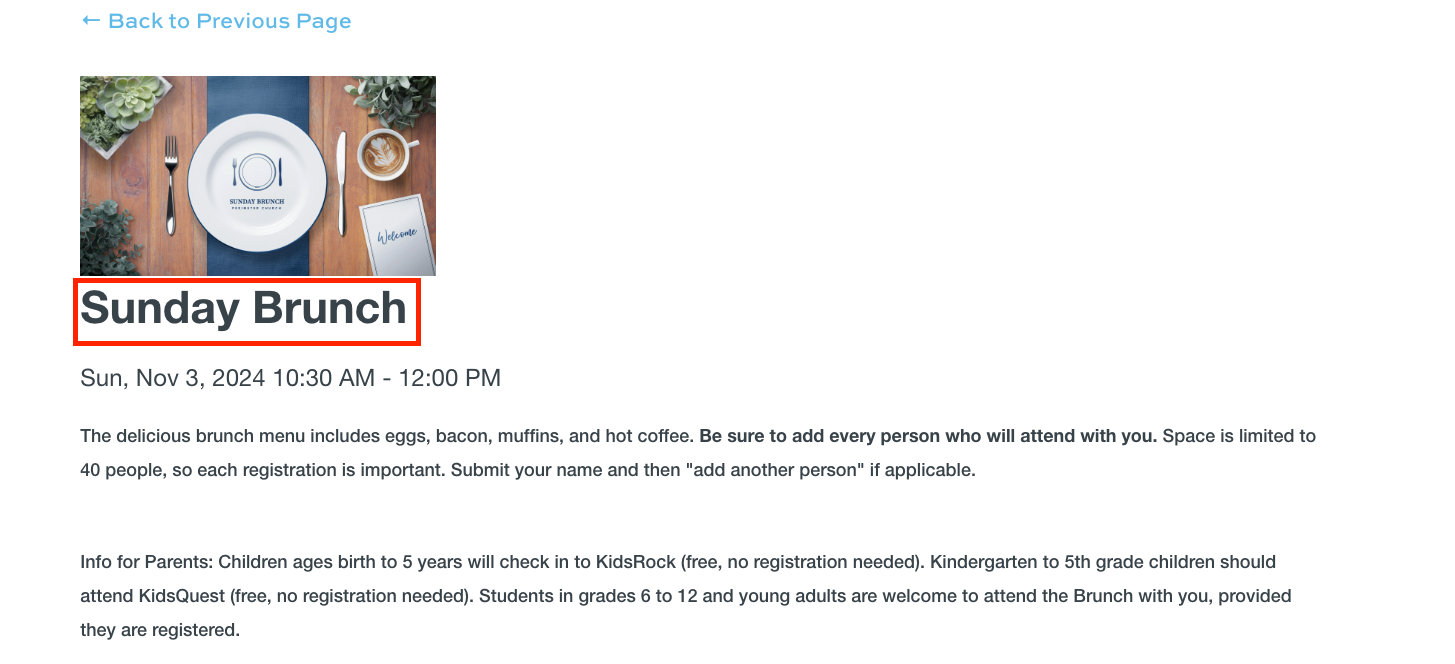
Here are some examples of how your title will look on the website:
Event Finder Card

Event Details Page

Event Type
Primary Contact
Congregation
Program
Description
Meeting Instructions
Event Dictionary
Click to toggle contents of Program Dictionary
- Event Title:* Name of the Event.
- Event Type:* The category of the Event; a SPoC can control the options in Lookup Values > Event Types.
- Congregation:* The Congregation the Event is for or hosted by.
- Location: The location where the Event is hosted.
- Meeting Instructions: Information about the Event so potential participants know what to expect. Please note that this field does not support HTML.
- Description: Information about the Event so potential participants know what to expect. Please note that this field does not support HTML.
- Program:* The ongoing ministry effort of which this Event is a part.
- Primary Contact:* The main contact of the Event.
- Participants Expected: Maximum number of participants expected before the Registration Active field is automatically set to No. This number is calculated based on registered Participants (and excludes canceled Participants). If some are attending physically and others virtually, the number should only include those physically attending.
This is a registration cap and registration will turn off when this number is reached.
-
Event Start Date:* The date and time at which the Event starts.
-
Event End Date:* The date and time at which the Event ends.
-
Canceled:* If Yes, ***Cancelled*** automatically appends to the Event Title and any room, equipment or service reservations are automatically canceled.
-
Automatic Email: If Yes, sends Selected Event Registrations report to primary contact twice weekly.
-
Visibility Level:* determines where the Event is visible
1-Private: Does not show on the Portal and are designed for internal use (for example, views, filters reports).
2-Staff Only: Does not show on the Portal and are designed for internal use by staff (for example, views, filters reports).
3-Staff & Church: Shows on the Portal with or without logging in.
4-Public: Shows on the Portal with or without logging in. This will allow the Event, once it is approved, to appear on the churches "Event Calendar" Portal Page. (The difference between 3-Staff & Church and 4-Public would be determined by however you might want to use them internally for views, filters or reports).
5-Hidden: URL Required: Shows on the Portal to individuals who have the appropriate URL. To create the URL, append your event registration URL with the Event ID# of the specific event the registration is for (to get the URL, the Event ID# would be added to the end of your usual event signup link, such as
https://my.samplechurch.org/portal/event_signup.aspx?id=#### -
Online Registration Product: If registration is occurring for this Event, the Product controls the fee amount.
-
Registration Form: If you would like additional questions answered when someone is registering for the event, include a custom form here.
-
Registration Start: the date registration should open.
-
Registration End: the date registration should close.
-
Registration Active:* must be Yes for registration to be open. If you want registration to close, you can manually set this field to False (but note that other items may close registration before you manually set this field to False - the Participants Expected field is met or the Registration End date is met).
-
Force Login: When set to true, this event will require users to login before registering.
-
Allow Check-In:* If Yes, this Event is eligible for the Check-In system.
-
Search Results:* Select how you'd like your check-in search results to display in Check-in Suite: Allow Guest (Show Everyone), Allow Expected Only (Show Everyone), or Allow Expected Only (Show Expected Only).
-
Early Check-In Period: the number of minutes before the Event start time that participants can check-in. If left blank, the default is 60 minutes.
-
Late Check-In Period: the number of minutes after the Event start time that participants can check-in. If left blank, the default is 30 minutes
-
On Connection Card: determines whether the event appears on the Connection Card Tool
-
External Registration URL: Add a complete URL (including the protocol https://) to this field if you wish to use a 3rd party form to take registrations for this event (a Product does not need to be chosen for events with an External Registration URL, and will be ignored if present). The URL in this field replaces what would normally happen when the Sign-Up button is clicked on the Event Registration for this Event.
-
Register into Series: If Yes, any registrants in an Event are added to all subsequent, future Events in this Event series automatically by the nightly Data Quality routine. See Register into Series for more information. Register into series should only be used for Multi-Day Events, not for Event Series that recur over multiple weeks. See Multi-Day Events below for more information.
-
Online Meeting Link: Link for a virtual meeting
-
Project Code: The project code that registration fees are charged to.
-
On Donation Batch Tool: Set this value to Yes for mission trips, memorials, commemoratives, and other events to which individuals may wish to earmark funds over a limited period of time. The actual dates of the event do not impact when and whether this event appears in the Batch Manager Tool.
-
Registrant Message: A message notification sent to Participants for an Event.
-
Days Out to Remind: The number of days until the Event that a reminder notification message will be sent.
-
Optional Reminder Message: A reminder notification message sent to Participants for an Event.
-
Attendee Message: A message notification sent to the Attendees of an Event.
-
Send to Heads: Send the message to only the Heads of Household.
-
Show in App:
-
Active:*
-
PCO Connect Mode:
-
PCO Plan ID Plan ID for Planning Center
-
Slots Confirmation Template: Sends template to registrants confirming their registration.
-
Slots Notification Template: Sends template to notify primary contact of registrations.
-
Event Slot Collection:
-
RSVP Confirmed Message: This is used by Blackpulps RSVP as a confirmation message that displays after a reservation.
-
Read More URL: PocketPlatform Only - Use this field to show an extra button on the Event Detail screen that opens the specified URL in the device browser.
-
Allow Self Check-in:* PocketPlatform Only - Allow users to use Self Check-in feature to mark themselves as attending this event.
